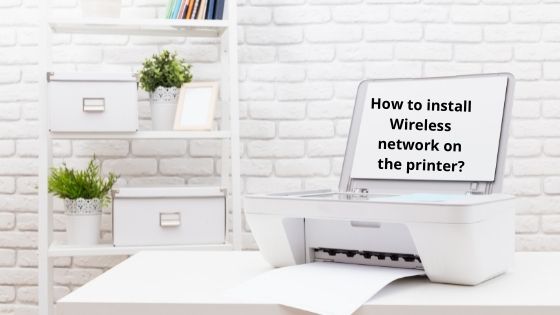
Today people can use printer devices over the network. You can connect the printer directly to the network and then share it among various devices. But you can’t configure all the printers on the network. Your printer must support wireless network connectivity. If the printer supports Wi-Fi connectivity, you can connect it to the router and take printouts or scan them easily.
How do I connect my Canon mg3600 to wifi?
Most of the access points have WPS or Wi-Fi-protected setup functions. Using WPS, you can easily connect any device directly. If your router has WPS then you can connect the printer directly to the Wifi. Before configuring, check for the physical WPS push button. Also, the network should be WPA secured.
- Place your printer device near the router
- Turn on the printer
- Check for the WPS button
- Go to the printer and press the Wi-Fi button
- The printer Wi-Fi lamp will start blinking
- Your printer starts searching for the network
- Enable the WPS button immediately
- Check the printer for available networks
- Choose the correct printer device
- Your printer lamp will become steady
After configuring the printer, you should check for the network setting. It assures that the device is connected to the correct network.
- Turn on the printer device
- Load pages on the input tray
- Hold the Wi-Fi button until the power lamp flashes
- Release the button
- Again press the Wi-Fi button
- A network information page will get printed
Check the connection and SSID status. If the connection shows Active and SSID shows the correct network name then your printer is connected to the correct network.
Get printer software to use the printer on the network
After setting the printer on the network, check for the printer software on your PC or phone device. The printer will only take your command if it finds the correct driver on the system. You must install the driver on your systems. For the systems with a CD drive, use the disc you get with the printer. You can find the driver on the internet also. Go to the printer’s website and search for the software of your printer model. You need different drivers for different platforms. The printer driver for Windows PC will not work on Mac devices. Install the driver depending on your OSs. After installation, you can add the printer to the network. After adding, send a print command and take your printouts.
Use standard connection method
When the access point doesn’t support WPS, use the standard connection method. But you can use the standard connection method only when you have a printer driver. Get the printer driver and now you can use the standard connection method.
- Run the printer driver and start the initial screen
- Click on the Start Setup button
- The printer driver will check for any new download
- If available, it will take a few minutes to complete
- Choose the country and region
- Hit on the Next button
- The license agreement page will appear
- Read the agreement and then click on the Yes button
- Check the Extended Survey Program page and hit on Agree button
- Select the Next button to install wizard processes
- Choose Wireless LAN connection
- Tap on the Next button
- Hit on the Connect via wireless router option
- Check the power lamp of the printer and tap on the Next button
- Your printer driver will search for any printer that is already on the network
- The printer detection process may take some time
- If the printer is already connected then choose it from the list
- If the printer is not available then tap on the Next button
- Check the Setting printer could not be found on the list button
- Printer software will again try to find the network
- Follow the on-screen instructions
- Wait until the setup finds your printer
- Your internet connection may get interrupted for a while
- Tap on the Next button after completing the setup
- MP driver and network tools will start downloading and installing
- Wait to complete the installation process
- Check the print head alignment
- Tap Next on the Test Print wizard
- After printer setup, tap on the Next button for software installation
- Choose the Next button to register your printer
- Tap on the Exit button
Now your printer will receive print commands on the internet easily.
How do I get my Brother printer to scan to my computer?
New Brother printer models also provide scan and fax services. You can use a single device to take printouts and scan documents.
- Load your document on the printer
- Connect the printer to the PC using cable (or wirelessly)
- Go to the start screen
- Choose All Apps
- Hit on the Windows accessories button
- Select Windows Fax and Scan option
- Tap on New Scan
- A list of imaging devices will appear
- Select your scanner name
- Hit on the OK button
- Choose the Scanning options
- Tap on the Scan button
- The image will be displayed on the screen
Now you can use the scanned image easily. But this method is not working to scan documents then try the paint method.
Load the document on the printer and tap on the Start button
- Choose the All Apps option
- Select Windows accessories
- Choose Paint option
- Click on the File and hit on From scanner or camera
- Check the imaging devices list
- Select your Scanner
- Tap on the OK button
- Check for the scanning options
- Hit on Scan button
You will get the scanned image on the PC screen.
What to do when the printer is not scanning on the network?
Many users reported that the printer is showing issues while using the scan function on the network. They can scan the documents using a cable but not wirelessly. This problem can occur when the network they are using is firewall secured. The network firewall often interrupts the printer connection. It suspects the connection request as malicious and blocks the request. If you want to scan the document on the network; check for the firewall. Disable the firewall and resend the scanning request. Now the printer will get connected to the network and you can easily scan the documents.


