A facial is one of the little pleasures in life. An at-home facial may be the best option, considering the fact that spas across the country are closing due to the pandemic and the danger of developing COVID-19.
There are many skin care products on the market that make it easy to do a facial at home.
Night time is a good time to begin. Renee Rouleau is a celebrity aesthetician who founded her skin care line.
Here are some ways to treat yourself to a DIY Facial as suggested by the experts providing salon services at home. Check it out
Step 1: Cleanse your Body
Start with a clean canvas. Before you begin your facial, it is important to thoroughly clean your skin to get rid of any makeup or dirt. Use cleansing wipes to remove any makeup residue. Use an oil-based cleanser, or any oil-based facial oil such as coconut oil or olive oils to gently clean your skin. This will get rid of all dirt and leave you with a clean slate. Use a mild foam cleanser to clean your face. Rinse off with warm water.
Step 2: Exfoliate
Exfoliating is the second step. A mild scrub can be used to exfoliate the skin. It will remove any dead skin cells and make it look brighter. Use a small amount of the face scrub to gently massage your neck and face in a circular motion. St. Ives Gentle Smoothing Oatmeal Scrub & Mask is recommended for those with oily skin. St. Ives Energizing Coconut & Coffee scrub is recommended for dry skin. Use lukewarm water to rinse the scrub.
Pro tip: To deep clean and remove all impurities and blackheads from your skin, rub primarily on the nose and chin.
Step 3: Massage your Face
A facial treatment is incomplete without a massage. This is, in my opinion, the best part of the entire process. This is a great way to improve blood circulation and muscle tone, and keep skin looking firm and healthy. Use a little face cream to moisten your hands. Begin at the middle of your forehead, and move towards the temples. Next, massage your cheeks and sides. Massage your lips, chin, and jawline. Massage the neck. Massage the neck with your fingers in an upward motion, working towards the chin. After 10 minutes massage, rinse your face with warm water.
Pro tip: Make sure to use both hands for a facial massage. Use your fingertips to move the skin upwards and outwardly, but never down. A downward motion can cause saggy skin.
Step 4: Get Steam
It’s time to clean out your pores! Next comes the steam. This helps open pores and makes the skin more pliable for the products that follow. The skin also benefits from heat, which makes it more moist and relaxed. This is a great step for acne-prone and oily skin. Boil the water in a saucepan and then take it off of the stove. Steam it for between 5-10 minutes. To ensure that the heat doesn’t escape and the steam reaches your skin, cover your head with a towel. If you require air, take the towel off from your head every now and again.
Pro tip: For a salon-like experience, add essential oils such as rose oil or lavender oil to your water. For extra skin benefits and aromatherapy, you can add rosemary or green tea to the water.
Step 5: Cover It
Your skin needs to be nourished and moisturized after steaming. Face masks remove all impurities and restore skin’s natural glow. Relax with your favorite face mask while your skin relaxes. For glowing and rejuvenated skin, you can always reach out to the experts for advice.
A face mask can be made from natural ingredients found in your kitchen. Make a facial with avocado and oatmeal for oily skin. For dry skin, mix banana and honey. Apply the cucumber slices chilled to your eyes. Leave it on for 15 minutes, then wash it off.
Step 6: Tone
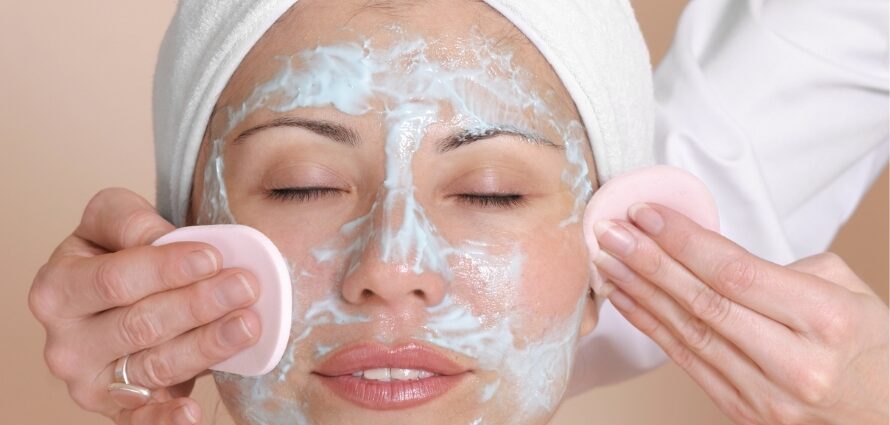
Toning is an essential part of any CTM routine. It’s also important for facials. Toner will help close the pores and remove the goodness and nutrients from the face masks. Toner is also beneficial for those with acne-prone skin because it does not let dirt and grime settle on the skin. Use a cotton pad to apply a little bit of the toner. The toner shrinks and tightens the pores that were open during steam, and leaves skin bright and clean. Move the cotton pad gently across your face, and then let it dry.
Last Words
Hopefully you are clear about the steps to be followed to get the best results out of facial at home. You can always consider hiring experts at your service as well. If you are looking for one, then we have a recommendation for you in the name of Beautician to get your facial done at home as per your custom needs. Book your appointment now!