Before attempting to connect your Canon printer and Mac computer, make sure to prepare. Remove your printer and all necessary items from the packaging. Install the ink or toner cartridges and paper to the printer.
Here are the instructions to connect your Canon printer to a Mac Computer through WiFi and USB.
After the final step in each section, you’ll find tips that may help ensure a connection or links to other troubleshooting pages.
How to Add a Canon Printer to a Mac Through WiFi
One way to How connect a Canon printer to a Mac is through WiFi.
First, check that your Mac computer and Canon printer are hooked up to the same WiFi. You may not need to do anything else to connect the printer and the Mac.
Follow the steps below if further action is necessary to link the Canon printer to a Mac computer.
- Check for updates (both your Mac and the printer software). If there are necessary updates, install them before proceeding.
- Connect your printer. You may have to connect a USB from the printer to the Mac to set up WiFi printing capabilities. Once you have connected the printer to the Mac, install the Mac software included with the printer and follow the instructions to connect the printer to the WiFi network. Disconnect the cord connecting the printer and Mac. The printer should hold the connection to the WiFi after disconnection.
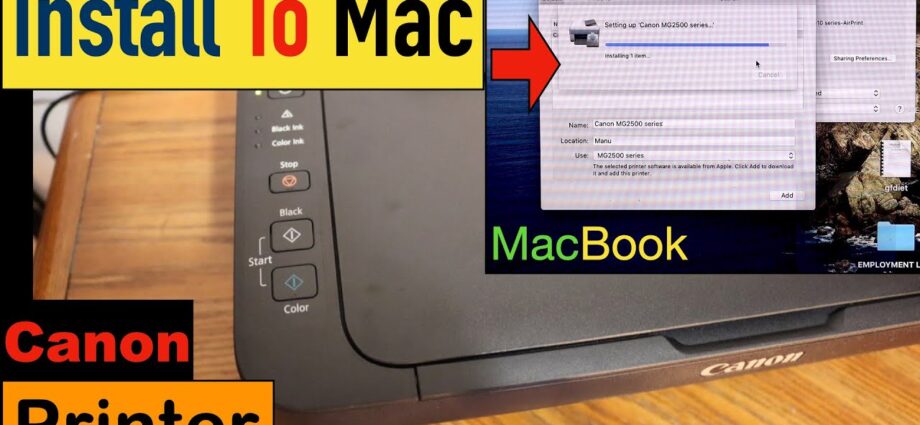
- Add the printer to your list of printers. Open the Apple menu and go to System Preferences. From there, click Printers & Scanners. If your printer does not appear, click on the + to add at the bottom of the list. The printer may not appear right away. When it does pop up, click the printer and add. Download or update software if you need to. Make sure to install/update as needed.
Tips for Connecting your Canon Printer and a Mac Through WiFi
Here are some tips if you’re having trouble connecting your printer by WiFi.
- Ensure that your printer and computer are plugged in if needed and turned on.
- Make sure that your printer and computer are connected to the same network.
- Need to share your connected printer with another Mac user? Follow these instructions!
- Click the printer icon to open the queue. If you see the “Resume” button, your printer is paused. Click the “Resume” button to continue printing. Printing may have paused due to an error on another print job. Delete the job with an error to resume printing the current printing job.
How to Add a Canon Printer to a Mac With a USB
Another option for connecting your Canon Printer to the Mac computer is through the USB cord. Utilizing a USB cord is typically a simple setup.
- Check the printer software (printer driver) for updates on your Mac. You can check if your model printer has any updates through the printer manufacturer.
- Make sure your printer is ready to go and turn it on. Address any error messages that may pop up on the printer.
- Connect the printer to your Mac computer using the USB cable. Download and install any new software if prompted.
Tips for Connecting a Canon Printer and a Mac With a USB
There are a few basic things to check if you’re having trouble connecting your printer by USB.
- Ensure that your printer and computer are plugged in if needed and turned on.
- Check that your USB cord is plugged in tightly to the Mac and printer.
- If your Mac and printer are turned on and connected snuggly, try these other solutions for issues with a USB.
How to Reset Canon Printer in Easy Steps?
When you reset the Canon printer, you can easily deal with every issue. In order to run the reset on canon printers, you need to run the power cycle, run a hard reset, and then reset the ink levels as well.
There are various users who might not know how to reset canon printer. Well, today we are going to learn the steps in which you will be able to reset the canon printer completely.
Here are the steps to reset Canon Printer:
Power reset
Before doing the hard reset, you need to begin with the power reset that is going to clear all the temporary issues of communication. The first thing that you need to do here is to unplug the wire from the printer after switching it off.
Also, make sure that you are removing the ethernet cord to disconnect the printer completely from the PC. After that, you need to wait at least a minute. After the minute is over, plug all the cables back. All the cables are going to include the power cable as well as the ethernet cable.
In most cases, this step has been proven to be very beneficial. It is going to clear all the printer issues. If you are still not able to resolve this issue, then you can move from the next step.
Ink-level reset
This is among the most common issues that is going to occur in the printer. Some people are going to see that the canon printer will give an inappropriate reading of the ink level. This is going to interrupt the printing process and the printer will assume that the ink is not just enough for the process.
The level must update automatically and if it is failing to do so, then there is something that you must do to troubleshoot the issue. You need to manually reset the ink so that your printer resumes to work again.
Hard reset
When you are seeing the error again and again, then it is time that you are going for the hard reset. Although the process is very easy and it is going to return the printer to the default factory settings.
The first thing that you need to do is to locate the stop button on the printer and press it until you hear the alarming sound. Release the button and you are going to see that you will erase all the settings from the printer and the printer will be restored to the new settings.
By following these processes, you will be able to reset the Canon printer.
Follow this website to read other articles here.