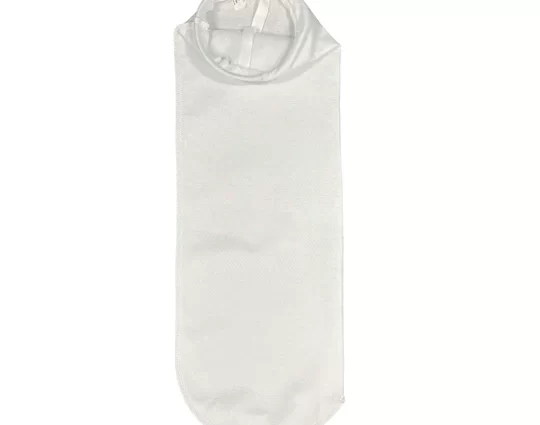
FSI bag filters are designed to filter out the dust in a bag by pulling it down through a mesh screen. They are typically made out of metal mesh that is about 1/8 inch thick and can be used for large-scale use.
What is a FSI filter?
FSI filters are a type of air filter used on sewing machines to clean the air that is drawn in through the machine’s fan. The FSI filters work by trapping particles such as dust, allergens and other small particles before they can reach your machine’s motor and cause problems.
How do you do an FSI filter on a sewing machine?
In this blog post, we are going to show you how to do an FSI filter on a sewing machine. This is a great way to improve the air quality in your sewing room and help reduce dust and allergens.
There are a few things that you will need before you start: an FSI filter, some thread, and a needle nose pliers. If you don’t have an FSI filter, you can buy one online or at a fabric store.
To install the FSI filter on your sewing machine, first remove the cover from the machine. Then take off the front panel of the machine. Next, locate the air intake tube on the side of the machine and unscrew it. Now remove the air intake tube cover. Finally, locate and unscrew the FSI filter cover.
Now that all of the covers are off, place your new FSI filter inside of the machine. Make sure that it is lined up correctly so that it fits snugly against the back wall of the machine. Replace all of the covers and screw them back onto place. Reinstall your front panel and enjoy improved air quality in your sewing room!
When should you change your fsi bag filters?
When should you change your fsi bag filters?
The answer to this question is different for every sewing machine, so it is important to read the owner’s manual for your particular machine. However, a general rule of thumb is to replace your fsi filter every 6 months or when the odor becomes intolerable. Here are some other tips to help keep your sewing machine running smoothly:
-Make sure the bobbin, thread, and needle are in good condition.
-Check that the tension on the zigzag and straight stitch cords is correct.
-Clean the dust collector and lint trap on a regular basis.
How much water for the fsi bag filters?
The following is a step-by-step guide on how to install an FSI bag filter on a sewing machine. Before beginning this project, be sure to have the following items on hand:
FSI Bag Filter
1/4″ hole saw
Tape measure
Ruler or measuring tape
Sandpaper or file
Now that you have all of the necessary supplies, it’s time to get started! First, measure the diameter of the FSI bag filter you’re using and cut a 1/4″ hole in the center of the filter. Then, use your hole saw to make the opening larger. Finally, fit the filter into the hole and secure it with tape. Next, mark where the bottom of the bobbin case meets the machine’s platform (or bed). This will be your reference point for cutting the filter housing. Now use your ruler or measuring tape to draw a line along this reference point. Once you’ve drawn your line, use your file or sandpaper to lightly round off the edges of your housing. Be careful not to over-round or you’ll create a difficult time removing the housing later on. Finally, reattach your bobbin case and test fit your housing by threading a needle and pulling it through both sides of the filter. If everything looks good, proceed to step 2! If not, please see below for troubleshooting tips!
What does the purple light mean when items are good to go?
There are a few things you’ll want to keep in mind when doing an FSI filter on your sewing machine. The most important thing to remember is that the filter should be installed properly in order to get the best results.
Here are a few tips to help make sure your filter is installed correctly:
1. Make sure the filter is positioned so that the light comes out of the side of the machine where the needle goes.
2. Align the tabs on top of the filter with those on top of your sewing machine’s cover plate, and press down firmly.
3. If you have a bobbin winder or hand crank, turn it on before installing the filter; this will help keep it in place while you’re sewing.
4. To remove the filter, pull up gently on one end until it comes free; then carefully lift off the cover plate.
Conclusion
If you’re looking to add a bit of pizzazz to your sewing projects, an FSI bag filter is the perfect solution. In this article, we’ll walk you through the basics of how to do an FSI bag filter on a machine, and show you some great examples of how it can be used in your work. So don’t wait any longer — get yourself an FSI bag filter and start spicing up your sewing life!