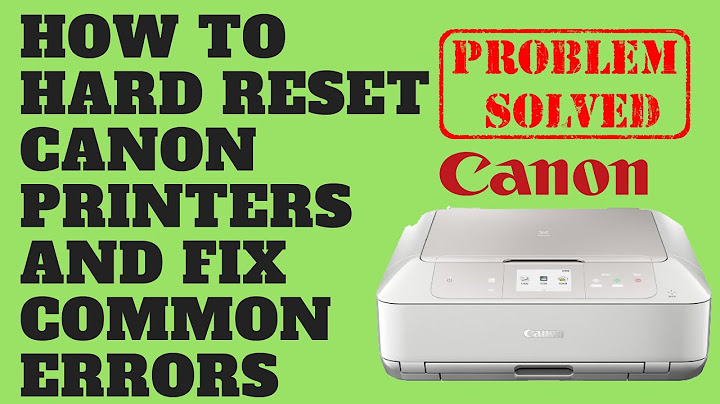
Reset Canon MP Series Printer:
Whenever you encounter any kind of technical problem with Canon MP Series Printer that disables your printer functions then the best option is to reset your printer. Although there are two ways to fix common errors i.e., reset and hard reset. If you find any of the tasks complicated then ask for professional assistance through experts.
- Let’s have a Look at the Reset Procedure –
- First of all, turn on your Canon MP Series printer. After that, press and hold the reset button.
- While holding the Reset button, press & hold Color Start button. Then wait for at least 5 seconds and after that proceed further.
- Release the Color Start button and then release the Reset button.
- Now, wait for some time until Canon printer starts to configure itself. Well, this process will take 20 seconds.
- At this moment, no. 1 will display on the screen and you have to press the Tool button. After that, “A” will display on the screen.
- While pressing Tool button, also hold the “Reset” button at the same time.
- Wait for some moments until there are no more blinking lights on the printer.
- Finally, release the Tool button as well as the reset button.
Hard Reset Procedure –
Follow these steps ‘How to Reset Canon Printer‘ hard Reset settings
- For the hard reset, you should turn off your computer and wait for some time so that it can shut down properly. After that, push the power button on your Canon printer.
- Go to the backside of Canon printer and then remove the ethernet cable. After removing the power cord, you have to remove the USB cable or parallel cable that is running from printer to computer. Also, remove the cable from printer and computer.
- Then plug the USB cable back into the printer. Plug the cable properly and confirm it is not loose. After that, connect another end of USB cable to the computer.
- Press the power on button of your printer. Wait for some time for the printer to power up and then turn on your computer.
- Now, log on to your computer and then click on Start button. From the menu, choose Control Panel and then “Printers and Faxes”. Then press double click on Canon printer and then tap on Printer menu. After that, choose Properties and then click on “Print Test Page” button.
- Receive Canon Printer Technical Support and Make Your Printer Give its Best
If any Canon Printer problem is annoying you, don’t worry. Just get in touch with Canon Printer help and resolve all problems from the root. One of the best things is you can ask for support from our experts at any time without any hesitation as we claim to stay active day and night.
Setup Canon Printer With the help of http //ij.start.canon setup
As IJ.Start.Canon Setup provides you free access to the canon printer drivers suitable for your canon printer. There are various instances when you may need to install or update your Canon printer, such as a new purchase. Not sure how to get the job done? Well! Here is a handy post that can guide your way through the installation of Canon printer using the Canon ij setup method. The installation of the drivers and software is essential, be it wired or wireless models. Navigate through this post until the end for simple and comprehensive steps & Visit ij.start.canon and download the Canon driver.
Method to Setup Canon Printer on Mac using -ij.start.canon
To setup your Canon printer of Mac using , follow the below-given series of steps:
- First of all, go to http //ij.start.canon setup to download and install the printer driver.
- Next, refer to the first section (Setting Up Canon Printer on Windows (Wireless) – Canon.com/ijsetup Steps). It will help you to put your Canon printer on the same WiFi network as your device.
- Moving ahead, open the Apple menu and click System Preferences option.
- Now hit the printer icon known as Printers and scanners from within the System preferences window.
- Click the “+” sign located at the bottom left corner of the screen. It will display a popup window.
- You may now locate your printer’s name in the left-hand pane if the connection is established to the network. Now click on the printer to start the setup procedure.
- After completing the process, you can see your printer with a Green check. Besides, you can now use your printer smoothly for your desired tasks.
Setting Up Canon Printer Using IJ.Start.Canon on Windows
To perform the setup, follow the below-given steps carefully:
- Navigate to http //ij.start.canon setup in order to download and install the printer.
- Turn your Canon Printer on and make sure that it is properly connected to the power source.
- Moving ahead, open the downloaded file of driver setup and Hit Next. It will take you to the screen wherein, you will see the “Wireless Setup” option.
- After selecting the wireless option, move to your Canon printer screen and click on the WiFi setup button.
- Now select the device settings and hit the OK button.
- After that, choose Device Settings and then click LAN Settings.
- Press the OK button to proceed.
- Now from within the LAN Settings, select Wireless Lan Setup and hit OK. It will make your printer search for the access point.
- Verify that your WiFi router is enabled. Now you will see a WiFi flash lamp is blinking on the printer.
- Now a network list will appear on the screen. Press OK after selecting your WiFi network from the list.
- Enter your correct password in the specified area when prompted and then click the OK button.
- Now, wait for a few moments until your printer connects to the WiFi network.
- Finally, the IJ Start Canon wireless setup procedure is completed for your Windows system after performing the above-given steps with full attention
Follow for more Post on this Website